MS PowerPoint
Microsoft PowerPoint is presentation software that is employed in preparing slides of projects, seminars and classroom presentations. In Class 7 here, we are taught many more features to make presentations more structured and interactive.
What is a Slide?
A slide is a single page of a presentation.
Just as a notebook has pages, a PowerPoint presentation has slides.
Each slide can contain:
- Text
- Images
- Charts
- Tables
- Shapes
- Audio or video
A presentation is a string of slides, presented in order.
Slides are useful in presenting information in a clear fashion, one idea at a time.
Basic Parts of a Slide
Every slide usually includes:
- Title area
- Content area
- Background
Proper arrangement of these elements makes a presentation neat and easy to understand.
Using Themes
When making a presentation, looks count. A presentation should have a clean and professional appearance.
A theme is a pre-designed format for designing slides so that they all have the same look.
A theme includes:
- Background colours
- Font styles
- Text effects
- Pre-designed slide layouts
When you apply a theme, all the slides are automatically set to the same design style.
Why Themes Are Important
- They save time
- They maintain uniformity
- They make presentations look visually attractive
- They improve readability
Themes help to make sure that your presentation is organised and professional-looking.
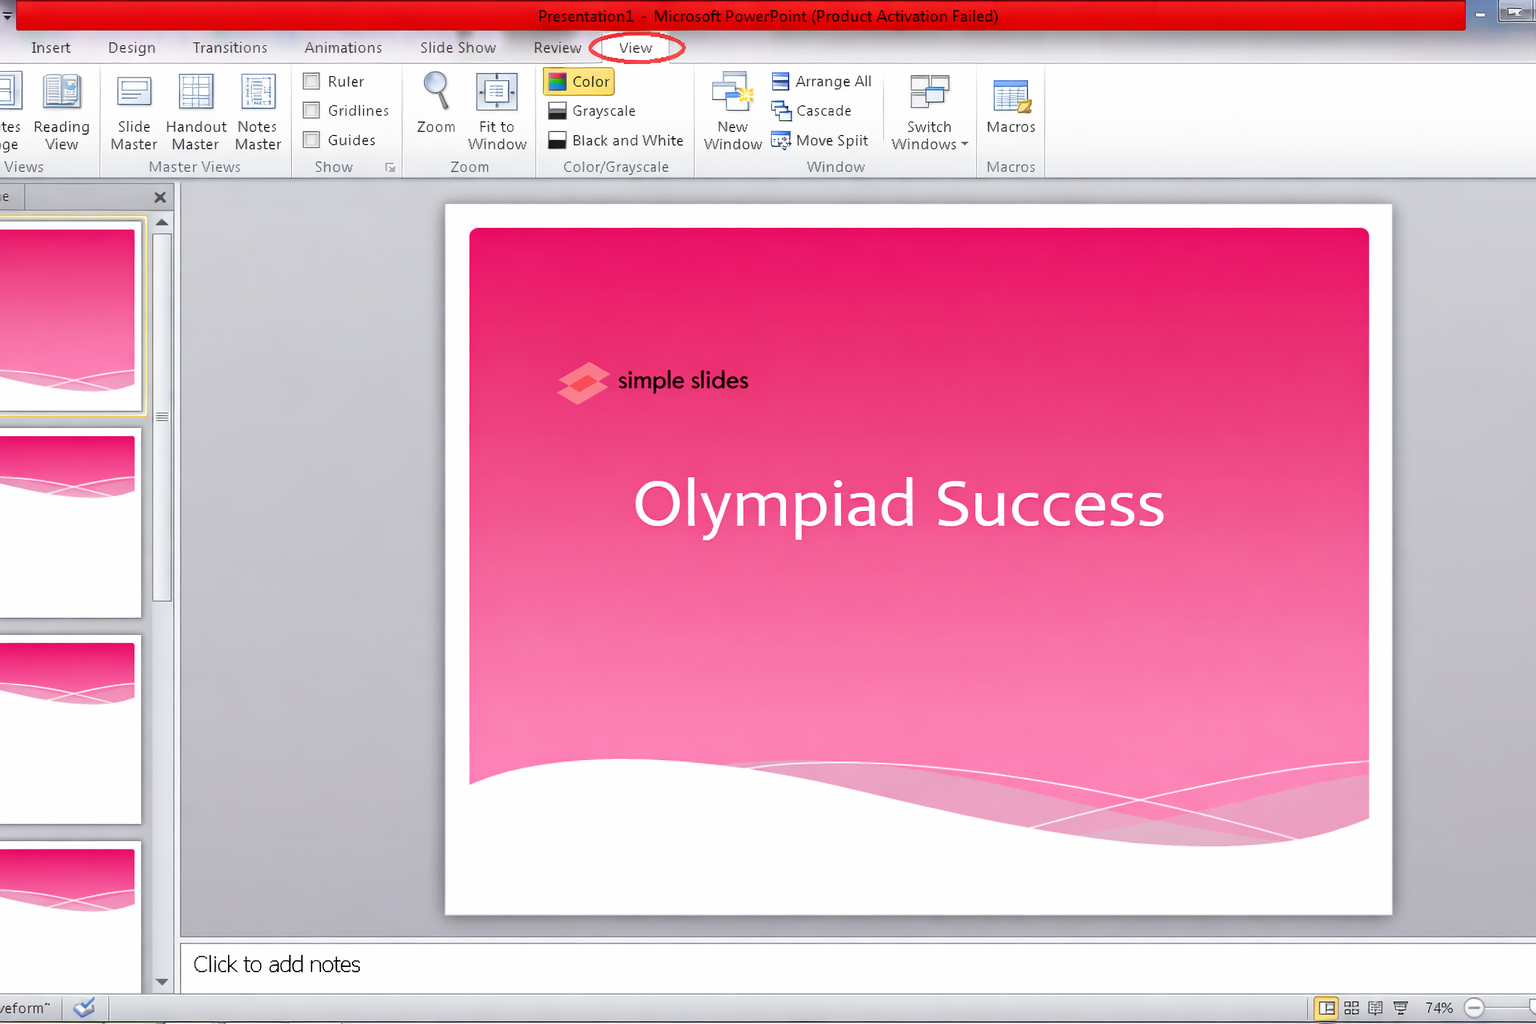
Working with the Slide Master
When the presentation contains a large number of slides, it is not always easy to maintain the same format manually.
The slide master is used to control the overall design of the whole presentation.
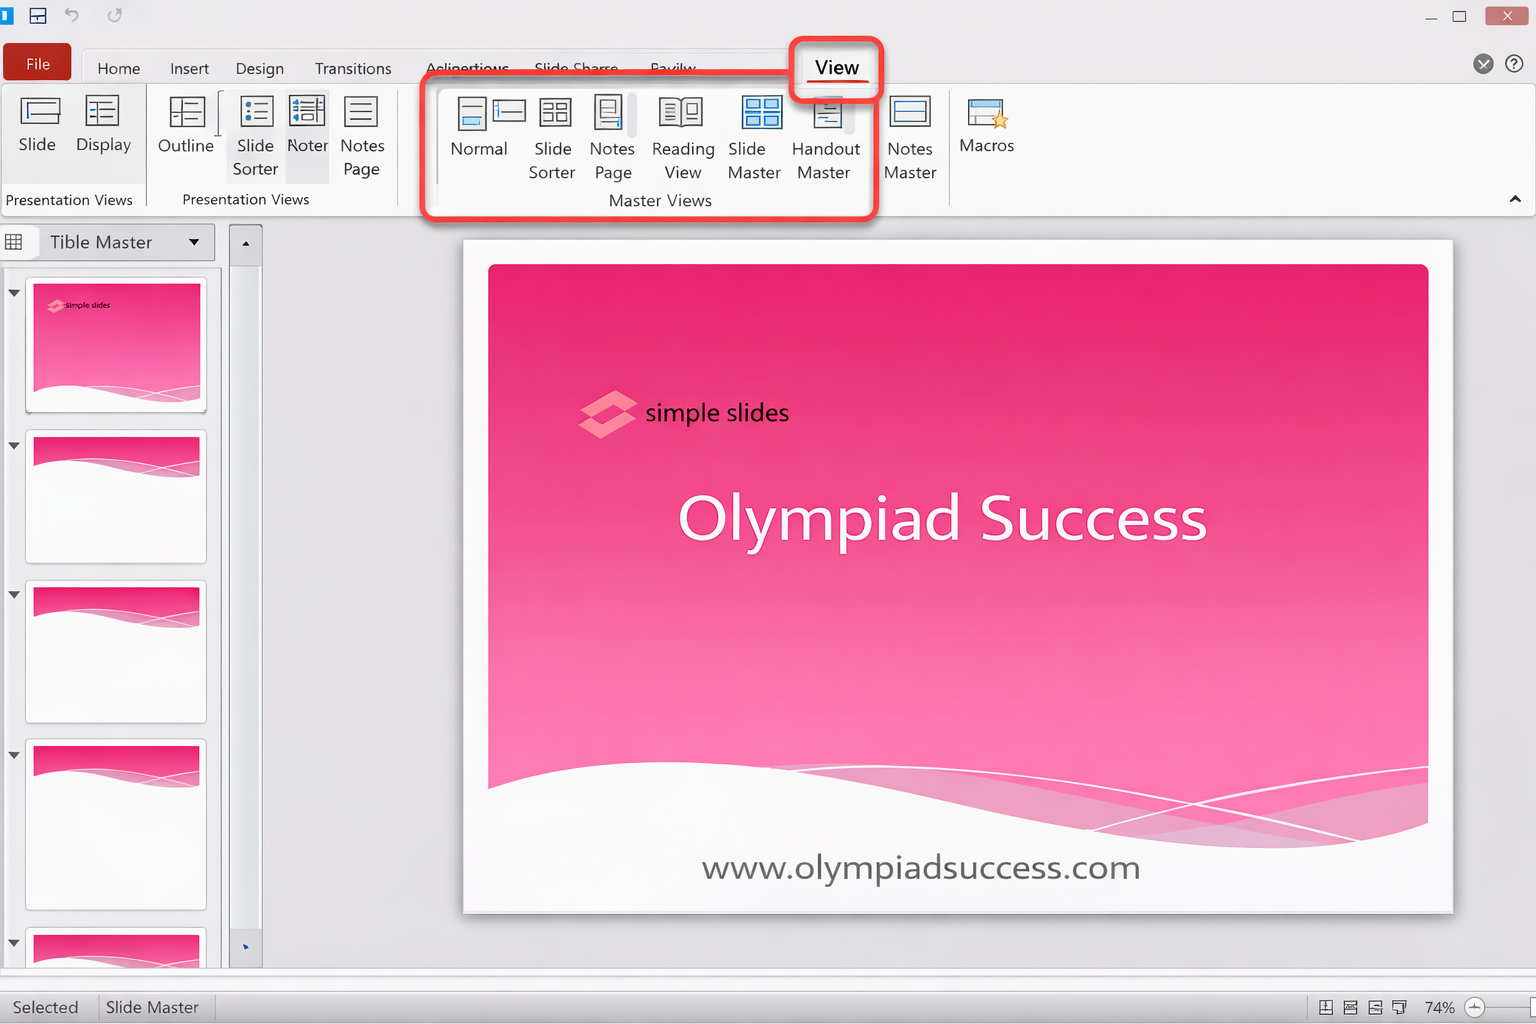
It allows you to:
- Change the background of all the slides at once
- Change the font style and font size of headings
- Add logos, footers or dates to each slide
- Adjust layout positions
Any change made in the slide master is automatically applied to all the slides connected to it.
Why the Slide Master is Useful
- Ensures consistency
- Saves time
- Maintains professionals formatting
Slide Master is quite useful in large projects or formal presentations.
Adding Interactivity with Hyperlinks and Action Buttons
In PowerPoint, there are various ways of moving between slides.
Hyperlink
You can create a hyperlink to:
- Jump to another slide
- Open a website
- Open another file
Action Buttons
Action buttons are shapes which carry out functions upon being clicked.
They help you:
- Move forward or backward
- Go to a specific slide
- Revise presentation interactions.
The features can be used in quizzes and online projects.
Customising Slide Shows
You are able to regulate the way your presentation will be displayed.
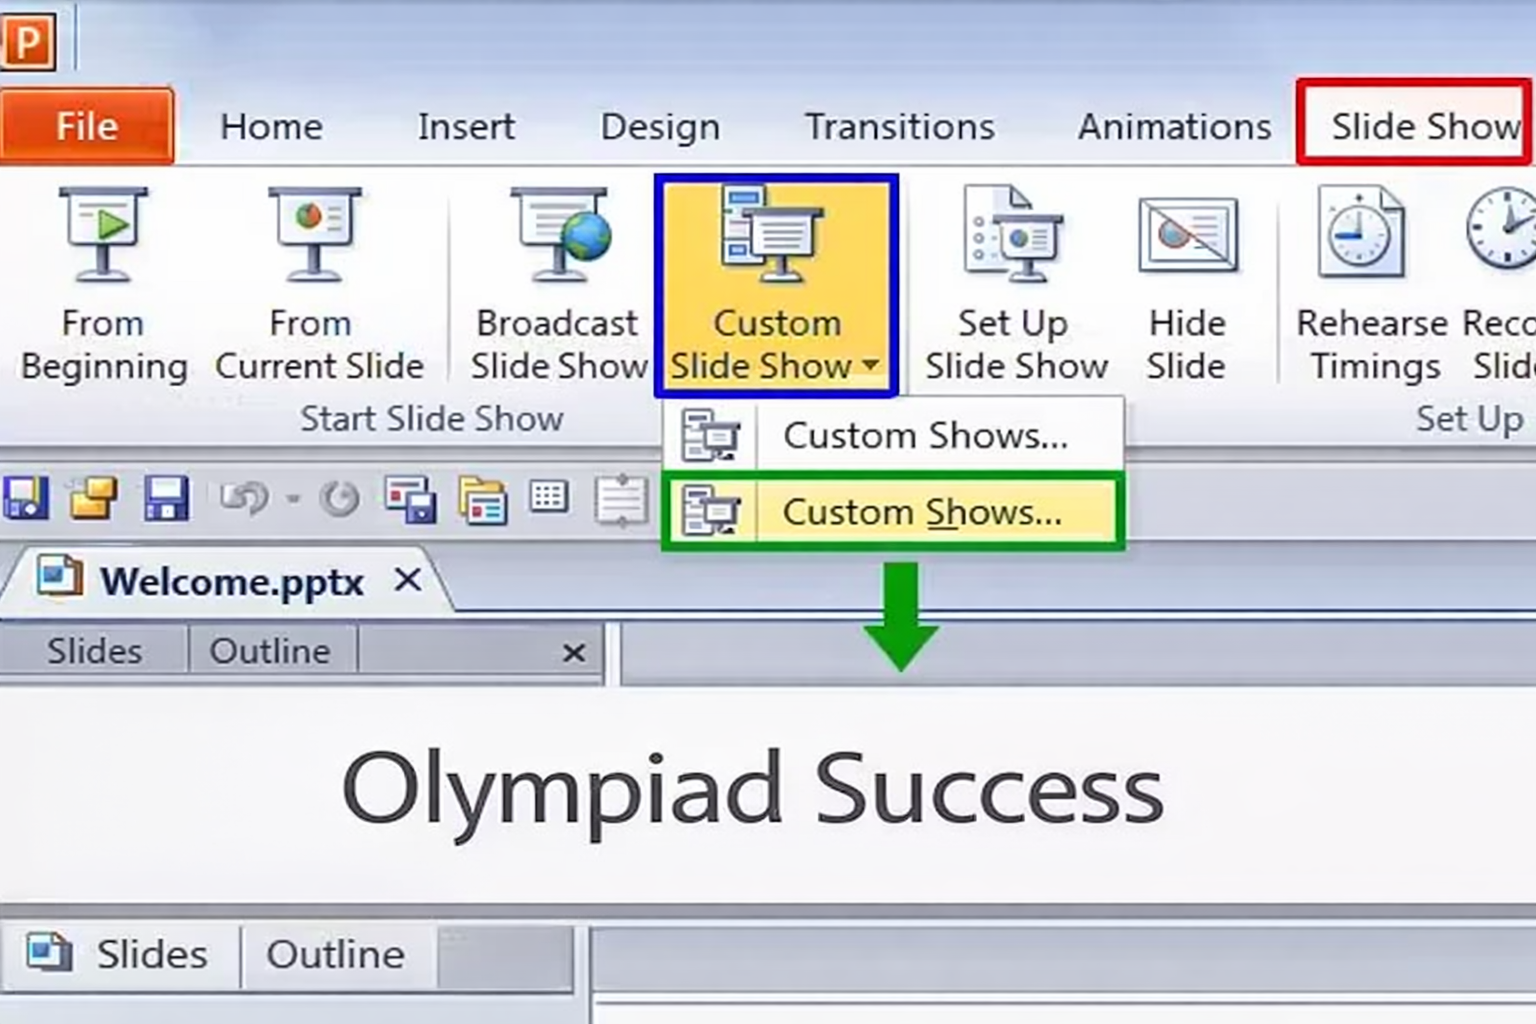
Options include:
- Decision on the slides to be displayed.
- Setting slide timings
- Rehearsing slide timing
- Looping the presentation
The use of custom slide shows assists in the presentation of information straightforwardly and assertively.
QUIZ FOR MS POWERPOINT
1. A student has a science presentation where he or she presents one idea per page. What are the names of the different pages of the presentation?
A) Worksheet
B) Slide
C) Document
D) Frame
Answer: B) Slide
2. A teacher would like to see the background of all presentation slides to be similar by default in line with colours, font and design style. What attribute is to be used?
A) Slide Master
B) Theme
C) Action Button
D) Hyperlink
Answer: B) Theme
3. A student will include a school logo, which will show automatically in every slide of a presentation. What was the most probable feature of PowerPoint?
A) Slide Master
B) Theme
C) Slide Sorter
D) Animation
Answer: A) Slide Master
4. When a student is being shown a quiz, he/she will simply click a shape on a slide, and it will automatically show a different slide. What feature is being used?
A) Slide Layout
B) Hyperlink
C) Action Button
D) Transition
Answer: C) Action Button
5. What is a characteristic of a presenter that enables him/her to send a website or switch to a different slide when he/she clicks on a text or an object?
A) Hyperlink
B) Slide Master
C) Theme
D) Layout
Answer: A) Hyperlink
6. One of the students desires to alter the font style of all slide titles in the whole presentation at once. Which tool should be used?
A) Theme
B) Slide Master
C) Action Button
D) Slide Sorter
Answer: B) Slide Master
7. A presentation consists of text and images, charts and videos put together on one screen. What is the key part of PowerPoint that gives all these items to the PowerPoint?
A) Slide
B) Toolbar
C) Theme
D) Action Pane
Answer: A) Slide
8. This is done by a presenter rehearsing, and PowerPoint captures the time taken on each slide to enable the presentation to be run automatically. Which feature is being used?
A) Rehearse Timings
B) Slide Layout
C) Theme Effects
D) Animation Pane
Answer: A) Rehearse Timings
9. When one is making a presentation, the slides go on and on at a kiosk screen. What slide show option can make this possible?
A) Loop Slide Show
B) Slide Master
C) Slide Layout
D) Insert Theme
Answer: A) Loop Slide Show
10. What can be done to ensure consistent design and professional formatting of all the slides within a large presentation?
A) Action Buttons
B) Slide Master
C) Hyperlinks
D) Animations
Answer: B) Slide Master