MS POWERPOINT
MS PowerPoint is a Microsoft program used to create presentations. It is used to develop a slideshow of projects, seminars, and classroom presentations. Through the assistance of animations, transitions, charts and tables, students can bring out information in an attractive and organised manner.
We will discuss some key aspects of Microsoft PowerPoint.
Using the Slides Pane to create new slides
- The Slides Pane is on the left-hand side of the screen.
- It displays miniature previews (thumbnails) of the entire slide presentation.

Using the Slides Pane, you can:
- Add a new slide
- Delete unwanted slides
- Rearrange slide order
- Choose alternative slide structures.
This is to aid in the arrangement of your presentation in the right order.
Working with Animations
Effects used on a slide, on text or on an object are animations. They make the content look imaginative.
You can:
- Animate text
- Add filters to images and forms.
- Manipulate the sequence of animations.
- Adjust speed and timing
The use of animations ought to be placed wisely to ensure that the presentation is clean and professional.
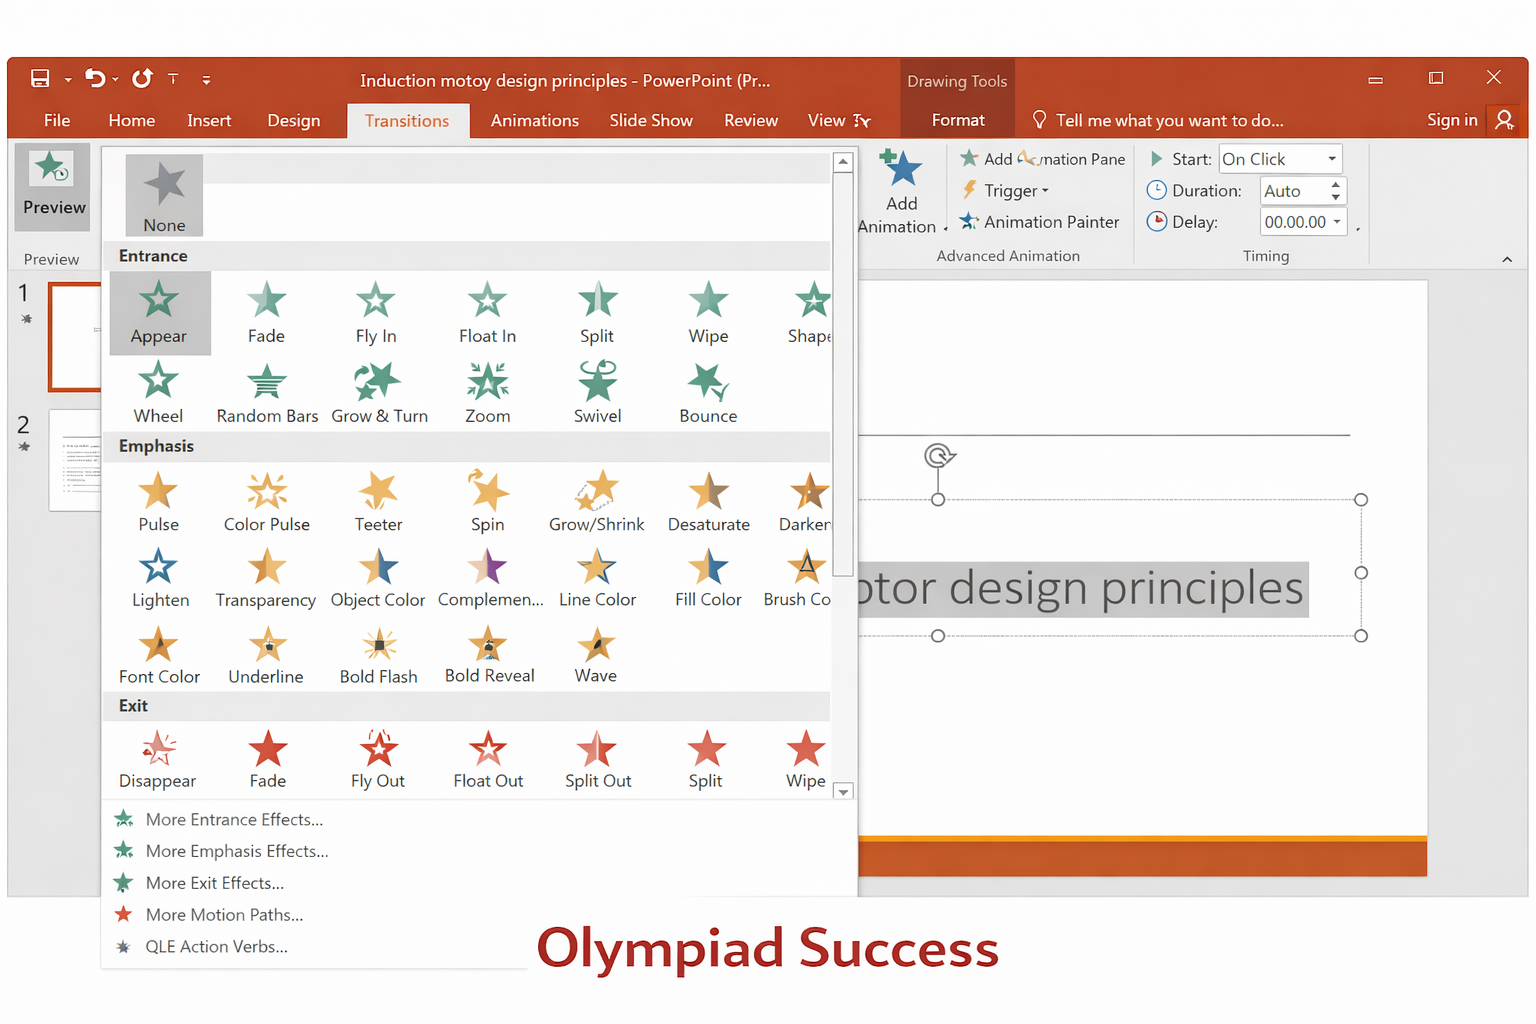
Working with Transitions
Transitions are visual effects that are present in transferring to another slide.
You can:
- Select alternative transition styles.
- Set the duration of the transition
- Same transition for all slides.
- The flow of the presentation is enhanced by transitions.
Working with Charts and Tables
The use of charts and tables is useful to display the information.
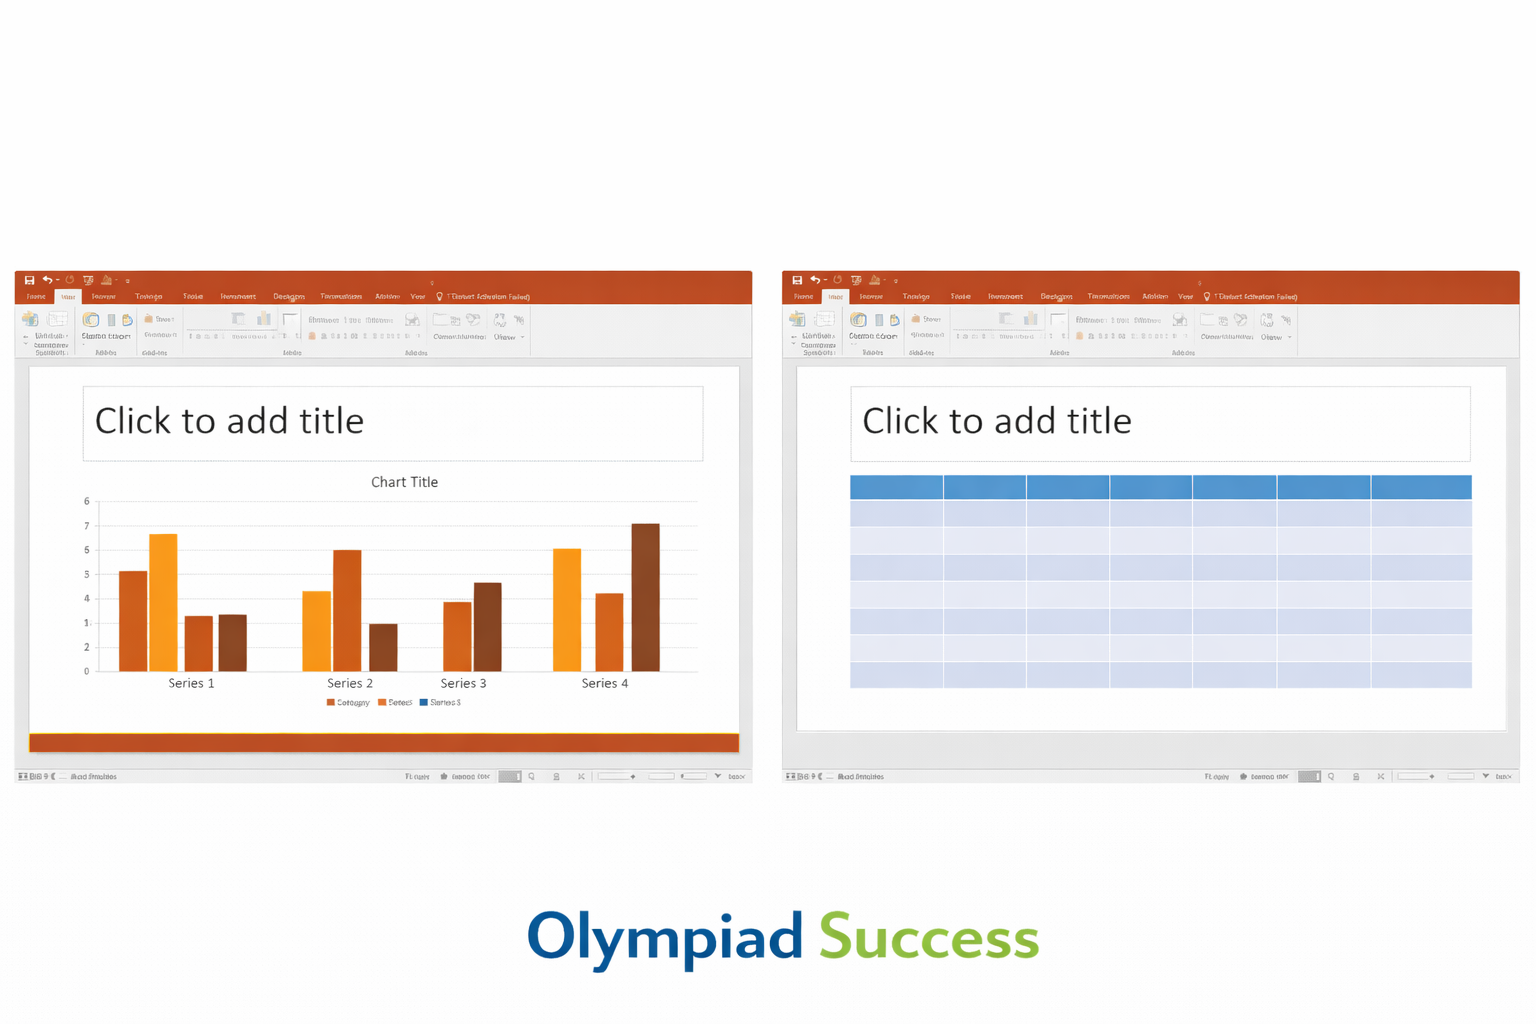
Tables
- Tables arrange the data in the form of rows and columns.
- They can be applied to present such information as marks, schedules, or comparisons.
Charts
The data is presented in graphical form using charts.
Common types include:
- Bar chart
- Line chart
- Pie chart
Information is easier to comprehend with the help of charts.
Working with the Handouts and Notes Master
PowerPoint has printing and presentation preparation tools.
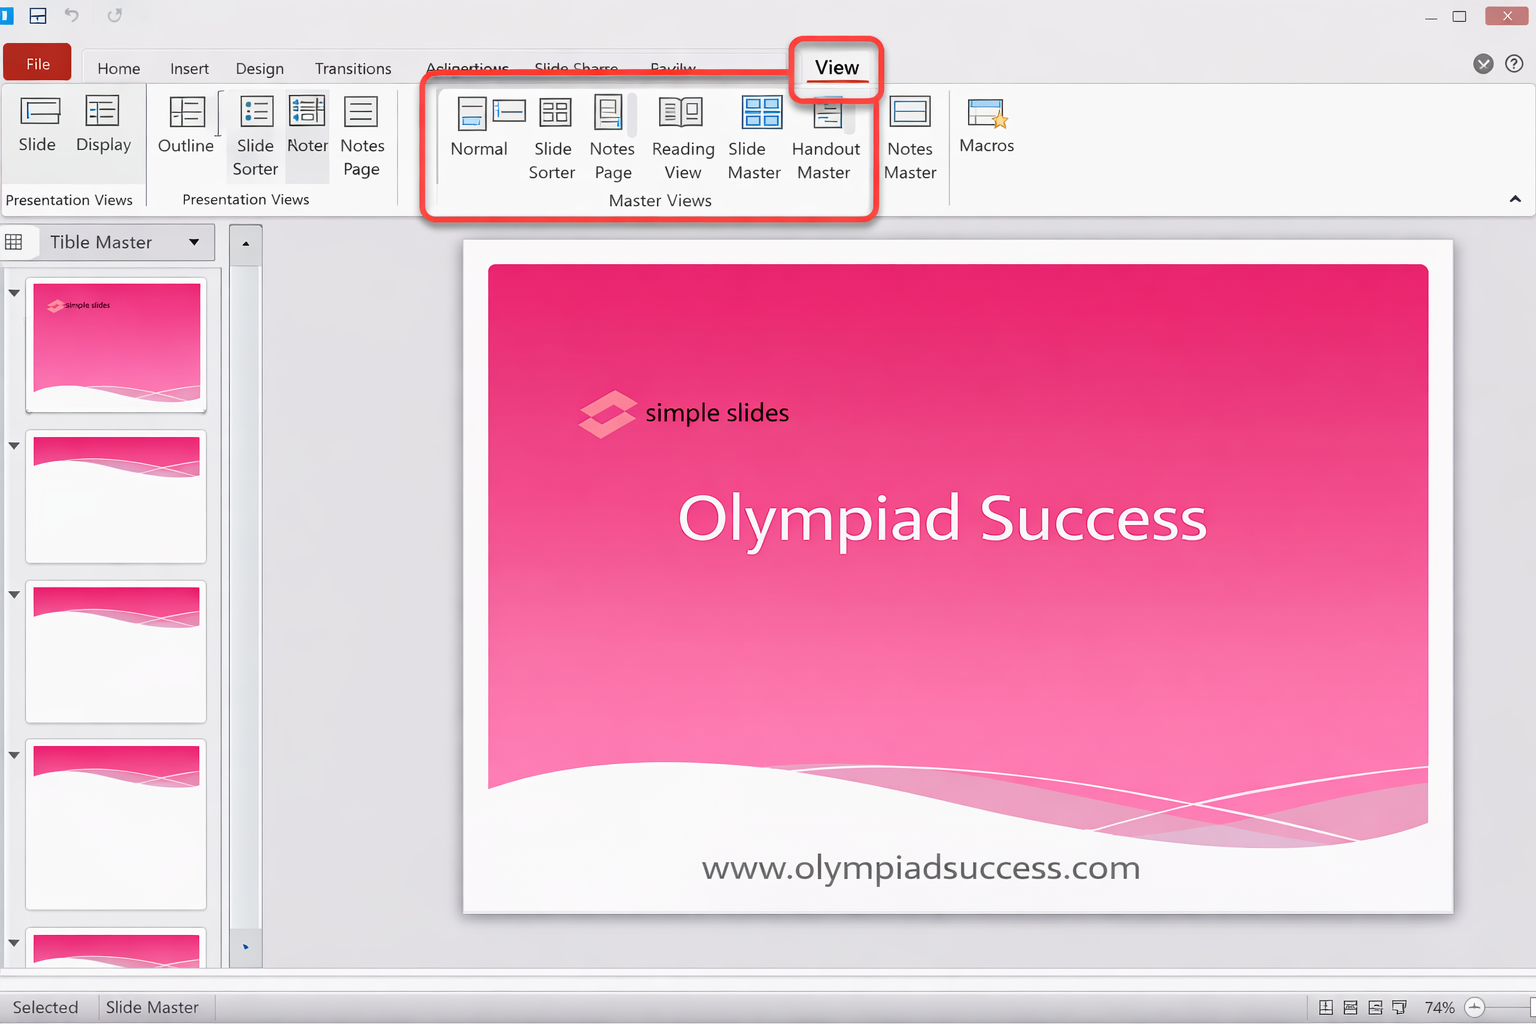
Notes Master
It gives you the opportunity to add your speaker notes, which are only viewed by the presenter.
Handouts
- A slide projector was used to print the slides in a smaller format to present to the audience.
- These are characteristics that ensure the presenter is organised when handling presentations.
Organising the Multiple Windows of a Presentation
At times, you can be required to compare two presentations or show two different slides simultaneously.
PowerPoint allows you to:
- Open various presentations.
- View them side by side
- Automatic window arrangements.
- Simple switching of open presentations.
- This assists in editing or comparing content.
QUIZ FOR MS POWERPOINT
1. The student desires to view all the slides as a mini preview and rearrange them in a presentation. What is the PowerPoint area that assists in this?
A) Taskbar
B) Slides Pane
C) Title Bar
D) Status Bar
Answer: B) Slides Pane
2. To maintain the attention of the audience, a teacher would like words on a slide to be displayed one at a time during the presentation. Which feature is being used?
A) Transition
B) Animation
C) Theme
D) Layout
Answer: B) Animation
3. In the transition from one slide to another, a visual effect is presented on the screen. What is this effect called?
A) Animation
B) Transition
C) Layout
D) Slide Pane
Answer: B) Transition
4. A student desires to present marks of five subjects in rows and columns to read them easily. Which feature should be used?
A) Table
B) Chart
C) Animation
D) Slide Master
Answer: A) Table
5. A teacher does not want to display surveys in numbers and uses a graphical picture that is based on numbers. Which PowerPoint tool assists in showing this?
A) Table
B) Chart
C) Animation
D) Notes
Answer: B) Chart
6. Many times, when giving a presentation, the speaker would like to read some reminders, which no one in the audience can see. Which feature provides this?
A) Notes Master
B) Slides Pane
C) Animation Pane
D) Transition Tab
Answer: A) Notes Master
7. A presenter uses small copies of slides to give them to the audience of a seminar. What are the names of these printed pages?
A) Worksheets
B) Handouts
C) Templates
D) Layouts
Answer: B) Handouts
8. Two PowerPoint presentations are opened by a student to compare their content. What is the characteristic that makes them be viewed together?
A) Slide Pane
B) Window Arrangement
C) Animation Pane
D) Slide Layout
Answer: B) Window Arrangement
9. What is the key feature of PowerPoint that is utilised to cause objects or text to move or appear on a slide?
A) Charts
B) Animations
C) Tables
D) Transitions
Answer: B) Animations
10. What are the primary reasons for chart use in PowerPoint?
A) To beautify slides
B) Manage files
C) Show data visually
D) Alter slide order
Answer: C) To show data visually