MS WORD
MS Word is an effective word processing application that was created by Microsoft. It is extensively utilised in the production of projects, reports, notices and assignments. In Class 6, students are taught how to arrange information in a professional and clean way using tables, charts, layout tools, and features of window arrangement.
These are some of the key features, which we shall examine.
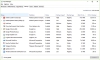
Working with Tables
- Tables assist us in arranging information as rows and columns.
- They simplify the clarity and readability of data.

Why Use Tables?
- To present marks or results
- To compare information
- To organise lists
- To create schedules
How to Insert a Table
- Click on the Insert tab.
- Select Table.
- Select the width and height of the table.
You can also:
Insert and delete rows and columns
- Merge cells
- Change table borders
- Apply table styles
- Documents are structured and professional with the use of tables.
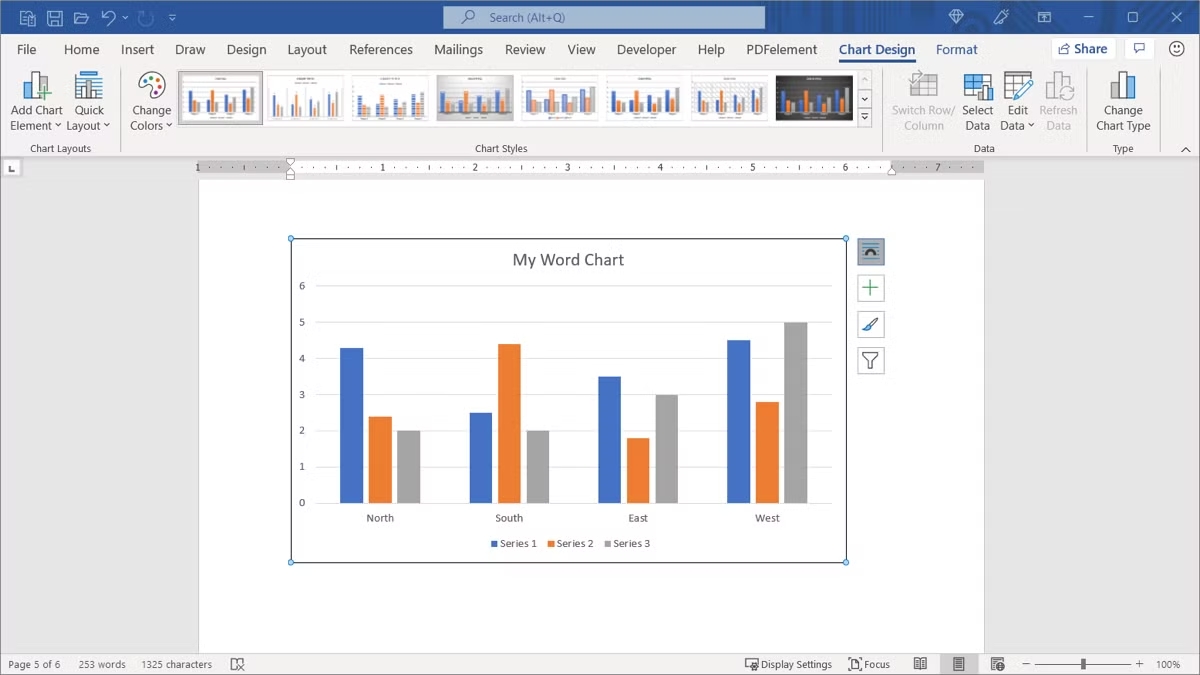
Working with Charts
Charts are used to illustrate data. There are no long paragraphs of numbers; the information is presented in the form of a graph.
Types of Charts
- Bar Chart – Compares quantities.
- Line Chart - Displays the trends.
- Pie Chart - Percentage distribution.
Steps to Insert a Chart
- Go to the Insert tab.
- Click on Chart.
- Select a necessary type of chart.
- Insert information into the data sheet given.
Charts are enhanced to enhance comprehension and present projects with greater appeal.
Using the Layout Tab
The Layout tab assists in regulating the look of the page.
It allows you to:
- Change Margins
- Change Orientation (Landscape or Portrait)
- Set Page Size
- Control Line Spacing
- Arrange objects properly
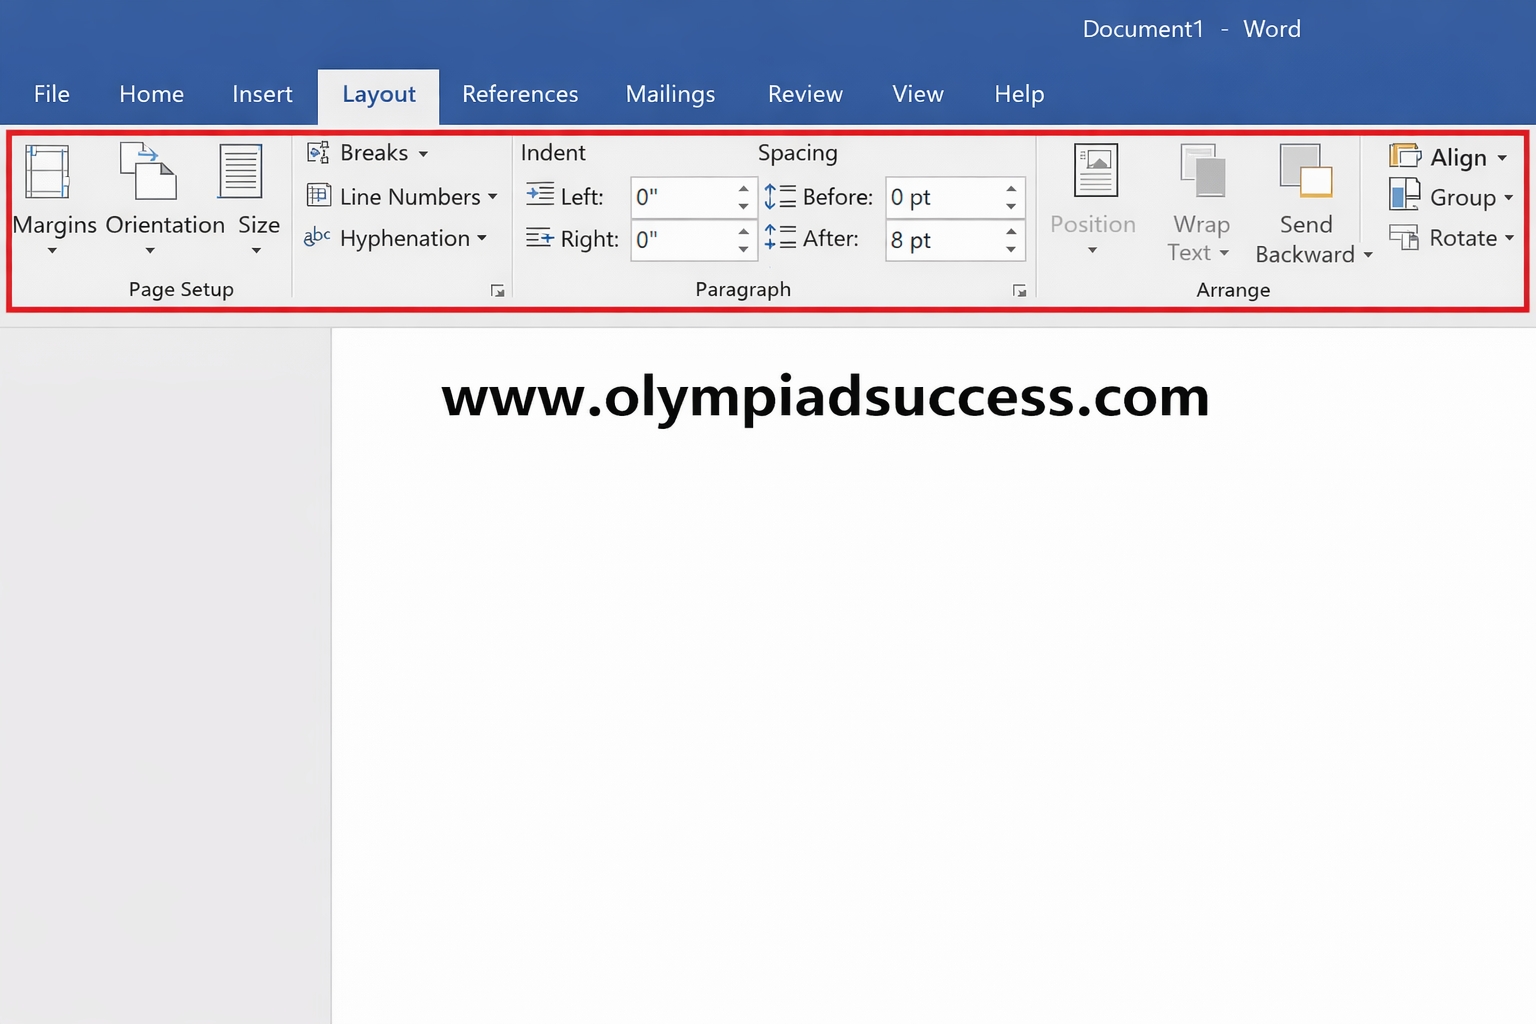
The Layout tab is also used so that your document is trainable and well-arranged.
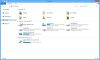
How to set up Multiple Windows of a Document
At times, we have to see various sections of the same document simultaneously. MS Word can enable us to organise several windows.
You can:
- Open the same document in a new window.
- Look at two papers at once.
- Divide the whole paper into two parts.
- Easy switching between windows.
This feature is useful when:
- Comparing content
- Editing long documents
- Replicating and transferring information.
QUIZ FOR MS WORD
1. One of the students desires to put the marks on the exams on various topics in rows and columns that are easily readable. What feature of MS Word is appropriate to use?
A) Chart
B) Table
C) Page Layout
D) Header
Answer: B) Table
2. A teacher desires to bring the sales figures in vertical bars in any form of visual representation as opposed to typing a long list of figures. What kind of chart is the best one?
A) Pie Chart
B) Line Chart
C) Bar Chart
D) Area Chart
Answer: C) Bar Chart
3. A student needs to demonstrate the change in attendance in varying months of the year. What chart should be used to display trends with time?
A) Pie Chart
B) Line Chart
C) Bar Chart
D) Table
Answer: B) Line Chart
4. A project represents the percentage distribution of students who select various sports in the form of a circle. Which chart type is used?
A) Line Chart
B) Bar Chart
C) Pie Chart
D) Column Chart
Answer: C) Pie Chart
5. As a student, one wishes to convert the page to a horizontal layout as he or she prepares a project in MS Word. Which option should be used?
A) Orientation
B) Margins
C) Page Size
D) Line Spacing
Answer: A) Orientation
6. When a teacher wants students to make the assignment easier to read, he or she tells them to add extra space between lines of text. Which layout option determines this?
A) Page Size
B) Line Spacing
C) Orientation
D) Header
Answer: B) Line Spacing
7. In the process of editing a long document, a student would like to see two sections of the same document simultaneously. What is the MS Word feature that can be used to assist this?
A) Split Window
B) Chart Tool
C) Table Tool
D) Insert Tool
Answer: A) Split Window
8. A student would like to have the possibility to compare two Word documents with each other to see the differences. What is the attribute that makes this possible?
A) Layout Tab
B) Multiple Windows
C) Table Design
D) Header Tool
Answer: B) Multiple Windows
9. What is the primary MS Word tab that can be used to alter the margins, orientation and page size of a document?
A) Home
B) Insert
C) Layout
D) Review
Answer: C) Layout
10. When formatting a project table, one of the students would wish to merge two cells of a table into a bigger cell. What table option shall one use?
A) Insert Row
B) Delete Column
C) Merge Cells
D) Split Table
Answer: C) Merge Cells